As any wizened old salt would say: The Sea is a harsh mistress that doesn’t like having her picture taken. Well, that last bit might be made up, but it doesn’t mean it’s any less true. Nothing is so deflating as getting home from your cruise or sailing trip to find your pictures are blurry, or worse – your camera’s been damaged. Photography around water poses its own set of challenges – from sand sneaking into your lens to the constant movement of the sea. So what’s a photographer to do?
That’s exactly the question we asked professional travel photographer Ben McNamara, whose adventures have taken him all over the world to places like Myanmar, Afghanistan and South Korea. He’s also the visual maestro behind some of our own videos here at Intrepid (you can check out his work here and here).
Unlike land photography, Ben tells us there are some not-so-obvious challenges to shooting around water that all photographers should know about. Here are some handy tips for improving your on-water shots – and making sure your camera lives for its next adventure.
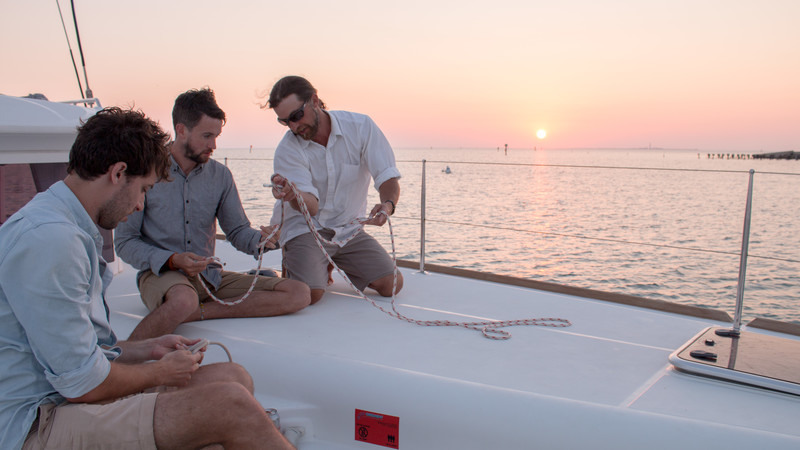
Use a high shutter speed on your camera to minimise the rocking created by your boat.
1. Keep your shutter speed high
Whether it’s the excitement of photographing critters on the Galapagos Islands or the perfect sunset in the Bahamas, your pictures could well be ruined by the rocking of your boat. No matter how steady you think you are, or how still your hands are, you’ll never be able to counter the movement of the sea beneath you. That’s why shutter speeds are important. A faster shutter speed (or short exposure) is ideal for reducing camera shake and motion blur, as it limits the amount of light entering the camera.
Ben says when shooting on a boat, you should always aim to keep your shutter speed higher than 100 (at a minimum) to keep your photos from going out of focus. The exact shutter speed will vary from lens to lens, but the general rule of thumb is to keep it high to make sure your photos remain crisp.
2. Fit your lens with a filter
According to Ben, filters are pretty much like putting a tiny pair of sunglasses on your camera. A quality polarising filter can reduce the percentage of sunlight that enters your lens. This means you can take photographs using a longer exposure (lower shutter speed) without blowing out your photos with saturated light (too much white). While filters help minimise direct sunlight, they also help with managing reflective light. This is particularly handy when shooting around boats (think of all those metal railings) and reflective water surfaces.
3. Avoid changing your lens
Ask any photographer and they’ll agree that changing a lens in the open can be a hazard. When you remove the lens from your camera’s body, it exposes the sensor to any impurities in the atmosphere. It might be sand flicked into your camera, an unanticipated splash getting your sensor wet, or even just salt being carried on the sea breeze. Ben says this also applies to humid environments, which can mess with the sensor if exposed. Ideally you should change your lens while indoors, preferably in the safety of your cabin.
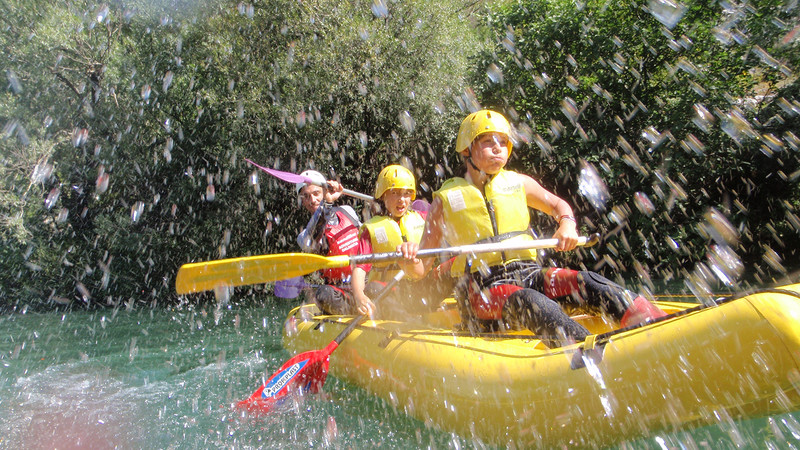
Protect your camera from splashes by using a simple plastic cover.
4. Don’t panic, it’s just condensation
You line up the perfect shot, only to find there’s a hazy cloud surrounding the palm trees and beaches. You try again but the pesky halo just won’t go away, so you open up your lens and try to see what’s going on. Although this is a natural reaction, Ben says it exposes your camera to potential damage (as mentioned above). Condensation naturally occurs when you move from a cold location to a hot one, like your cabin to the deck, but it only lasts a short time before it passes. Don’t be fooled; just wait for the condensation to pass before framing your shot again.
5. Stay dry while on the water
No amount of rice is going to save you if you get hit by a wave or drop your camera into the deep, so it’s best to prepare ahead of time. Ben recommends investing in basic, cheap plastic bag cases to keep your camera splash-proof. There are higher-end cases available, but often you can get away with putting a plastic sleeve over and around your camera. If you’re on the move, Ben says waterproof dive bags are useful for getting in and out of tricky situations (such as climbing out of a Zodiac or raft while on the water). They’re relatively cheap and can be found at many adventure stores.
Now you know how tackle photography on the water, all you need is a big adventure. Jump aboard one of Intrepid’s sailing or adventure cruising trips and put Ben’s advice into action.